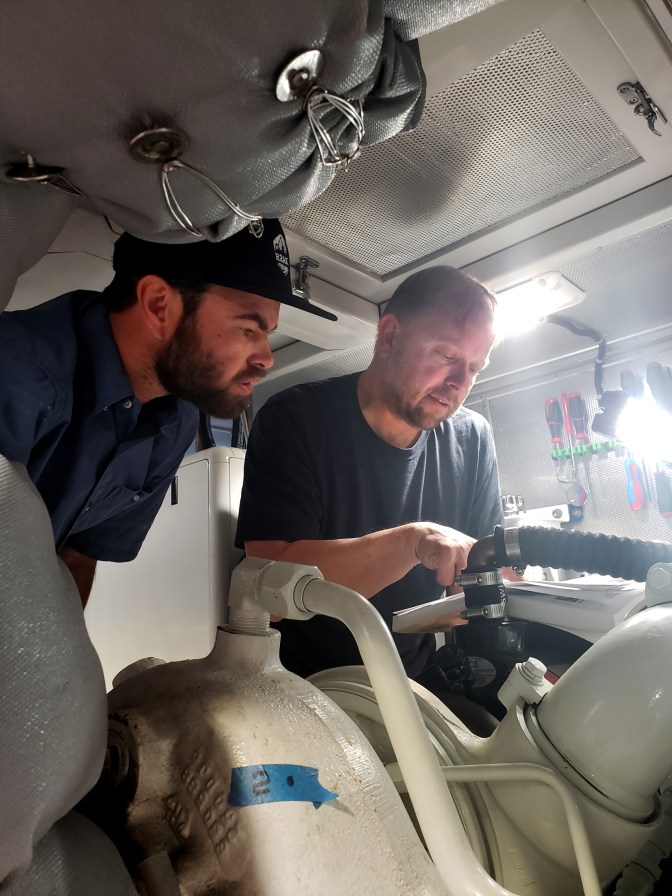
Red Rover‘s main engine, the Lugger L1276A, requires a valve adjustment only once in it’s lifetime at 2500 hours. The process is very similar to what we had practiced in Lugger Bob’s Northern Lights diesel class. We did not have record of this work being done previously so we decided to undertake the project ourselves before we departed north. I had a couple of friends volunteer to help, our neighbor Darren and a former classmate in my Captain’s class, Somerset.
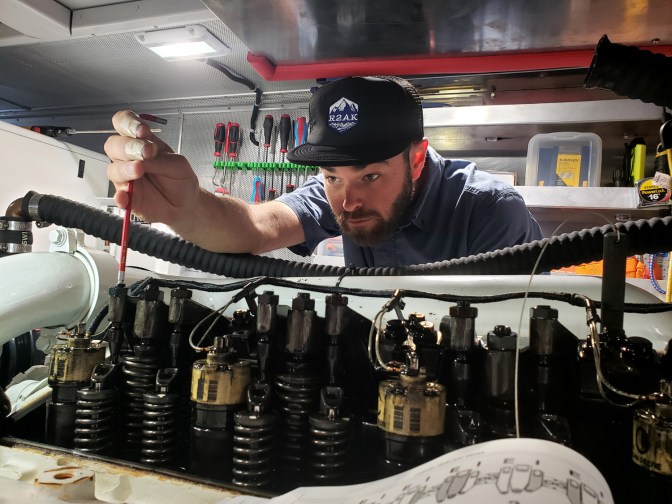
The process is nicely detailed in the John Deere service manual. After removing the valve cover, we used a couple of John Deere sourced tools to rotate the engine to top dead center. At this point I realized that my standard 1/2″ wide feeler gauge set was too wide to fit in the space to measure valve clearance. John Deere has a feeler gauge set that is a 1/4″ wide. Oh boy. Well, out came the cordless grinder with a metal cutoff wheel and we nipped the two required blades in half. Problem solved.
At this point, the service manual details which intake and exhaust valves along with the injectors to adjust before rotating the engine 360 degrees to repeat the process on the other half of the valves and injectors. We then cleaned up, reinstalled the valve cover and put the tools away. Project done!


Kevie mate.. just caught up on your trip, well done finally left for good.. !! ENJOY is all I can say – time away will be great.. take care buddy, and know I am with you all in spirit.
James! Thank you for the note! We are having a ball but missing you guys… We think of you often!
Did you notice any difference after adjusting the valves. Could you tell by the feeler gauge that they needed to be adjusted?
Thanks. Patrick
Hi Patrick,
The engine was a bit quieter and a touch smoother than before. Yes, the feeler gauge was used at each valve before and after to check. Most valves needed some adjustments… Some were slightly to tight while others were a bit loose.